7. Operating Instructions
7.1. Create Mission

Launch Neptus
Select File‣Create Mission
Insert coordinates for the mission location.
Tip
We recommend this location to be either a position in the vicinity of the area of operation or the intended position for the base station, or both. This can also be changed later.
Select folder to save missions.
Tip
Select a file name and (optionally) a directory structure that will help memorize the contents and context of the mission. Mission files will have an nmisz extension (Neptus mission archive).
Insert mission name.
Click save.
You should see a console focused on the marker for My Location that is set to the mission location. In the mission tree, the plans folder is empty and there are no transponders.
7.2. Create Plan
This will create a simple plan composed of one goto maneuver and one rows maneuver.
Launch Neptus
Click on the left toolbar, click plan editor.
In the “Choose a vehicle” window, select the main vehicle for the plan from the dropdown menu.
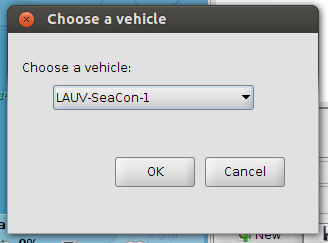
Window for choosing vehicle.
Over the world map, click with the right mouse button. From the list of maneuvers on the menu, select Add Goto.
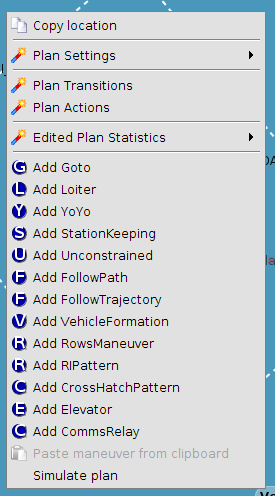
Menu containing the list of maneuvers.
New elements appear after adding the goto maneuver. The figure of part of the console shows the changes.
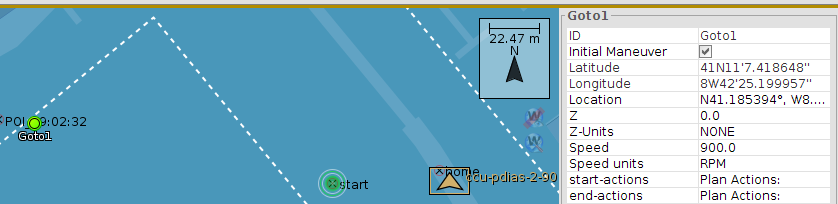
The green dot indicates where the vehicle will go and on the right are the specific details of the maneuver.
Now, repeat step 4 but select Rows. The plan now should be like on the figure with parallel lines.
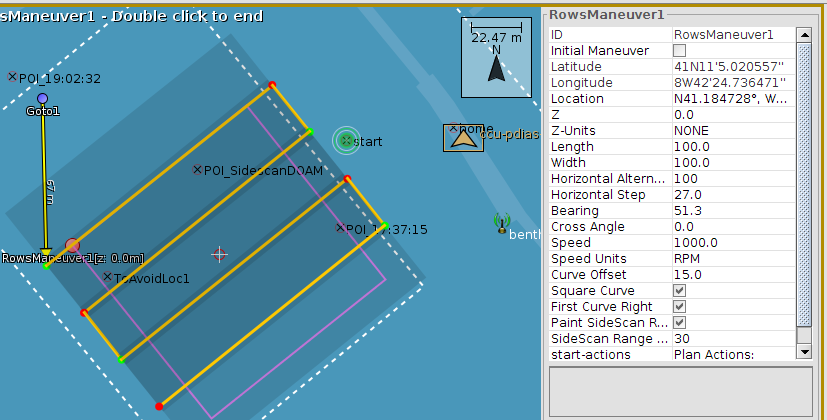
The set of lines represent the path the vehicle will travel.
Click the Save button, to save.
Write the plan name on the text field of the window that appears.
The plan in now safely on the Mission Tree under the plans folder.
7.3. Execute Plan
This explains how to make the vehicle start the execution of a plan.
In the Mission Tree select the plan which you wish to execute.
Click with the left mouse button over the Send Plan Button button (figure figure) if the plan is not already synchronized.

Symbol of the synchronize plan button.
Click with the left mouse button over the Start/Stop Plan Buttons button (figure figure) to start.

Symbol of the start plan button.
If some payload that requires activation is enabled for the specified plan, then the vehicle might enter Calibration mode. During this period, the vehicle waits at the surface for an amount of time that depends on the sensors being activated.
When this period is over, the vehicle will start executing the plan and will enter Maneuver mode.
Warning
 Calibration phase may be very short if the sensors that require activation are only necessary later in the plan. If the designed plan consists of a single maneuver with infinite or unpredictable duration (like an infinite Station Keeping maneuver), the Calibration phase is skipped, and sensors are activated in Maneuver mode.
Morevoer, if by any chance, a sensor fails to be activated during this period or later in the plan, the execution will be interrupted.
Calibration phase may be very short if the sensors that require activation are only necessary later in the plan. If the designed plan consists of a single maneuver with infinite or unpredictable duration (like an infinite Station Keeping maneuver), the Calibration phase is skipped, and sensors are activated in Maneuver mode.
Morevoer, if by any chance, a sensor fails to be activated during this period or later in the plan, the execution will be interrupted.
7.4. Download Log from Console
- Launch Neptus
- Select View‣Log Download or press Ctrl+L to open the Logs Downloader.
- Press the middle button (second button described on this table).
- Wait for it to turn green.
All the day logs in the main vehicle have been transfered to the ./log folder.
7.5. Inspect Log from Mission Review and Analysis (MRA)
To do this you need the log folder containing the *.lsf or *.lsf.gz file.
- Launch Neptus;
- Select Tools‣MRA;
- From the MRA window, select File‣Open LSF Log;
- Browse to where the *.lsf or *.lsf.gz file is, select it and press Open.
- If it’s not the first time you open the log, a window will popup asking if you want to regenerate the index. Just Click No.
- Press Replay, on the Visualizations/Messages Tabs (under sec_visualizations_group).
The window should now show where, in the environment it has been.
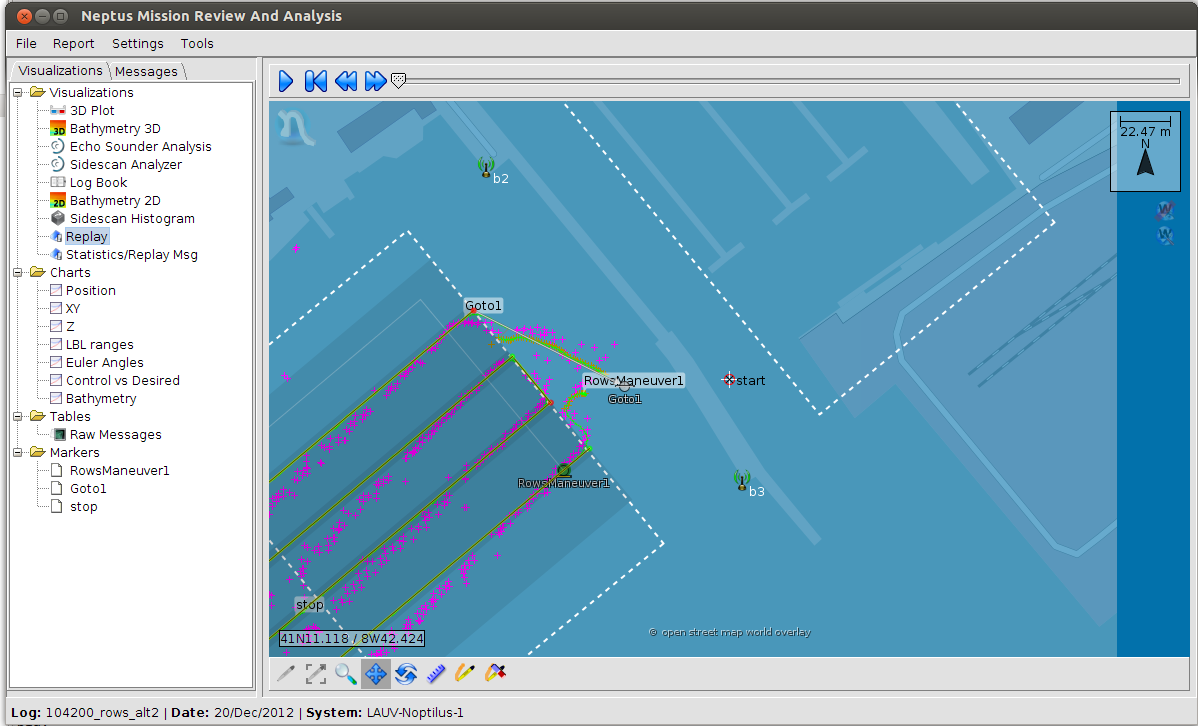
On the left the Replay visualization is selected, on the right the contextualization of the positions in the map.
7.6. Connecting Neptus to a Vehicle
Start the communications hub (this is where the router is, usually a Manta Gateway).
The Neptus and the vehicle are started. The order is not important.
Both systems will start announcing their points of connection.
Neptus will pickup the announce of the vehicle and starts transmitting messages to it. (See on Systems List the System List Background Color Codes and System List Symbology Description (Connectivity).)
- This will trigger the vehicle to send messages to Neptus.
Both systems are connected.

Table Of Contents
Previous topic
6. Mission Revision and Analysis